How To Install Drip Edge Intro
Not everyone decides to install a drip edge, and not every roofer will recommend it. That being said, it could be worth it for your roof. But before we look more closely into why you might want a drip edge and what theyre good for, you might simply want to know what they actually are. So lets have a look:
Reasons To Use Drip Edge
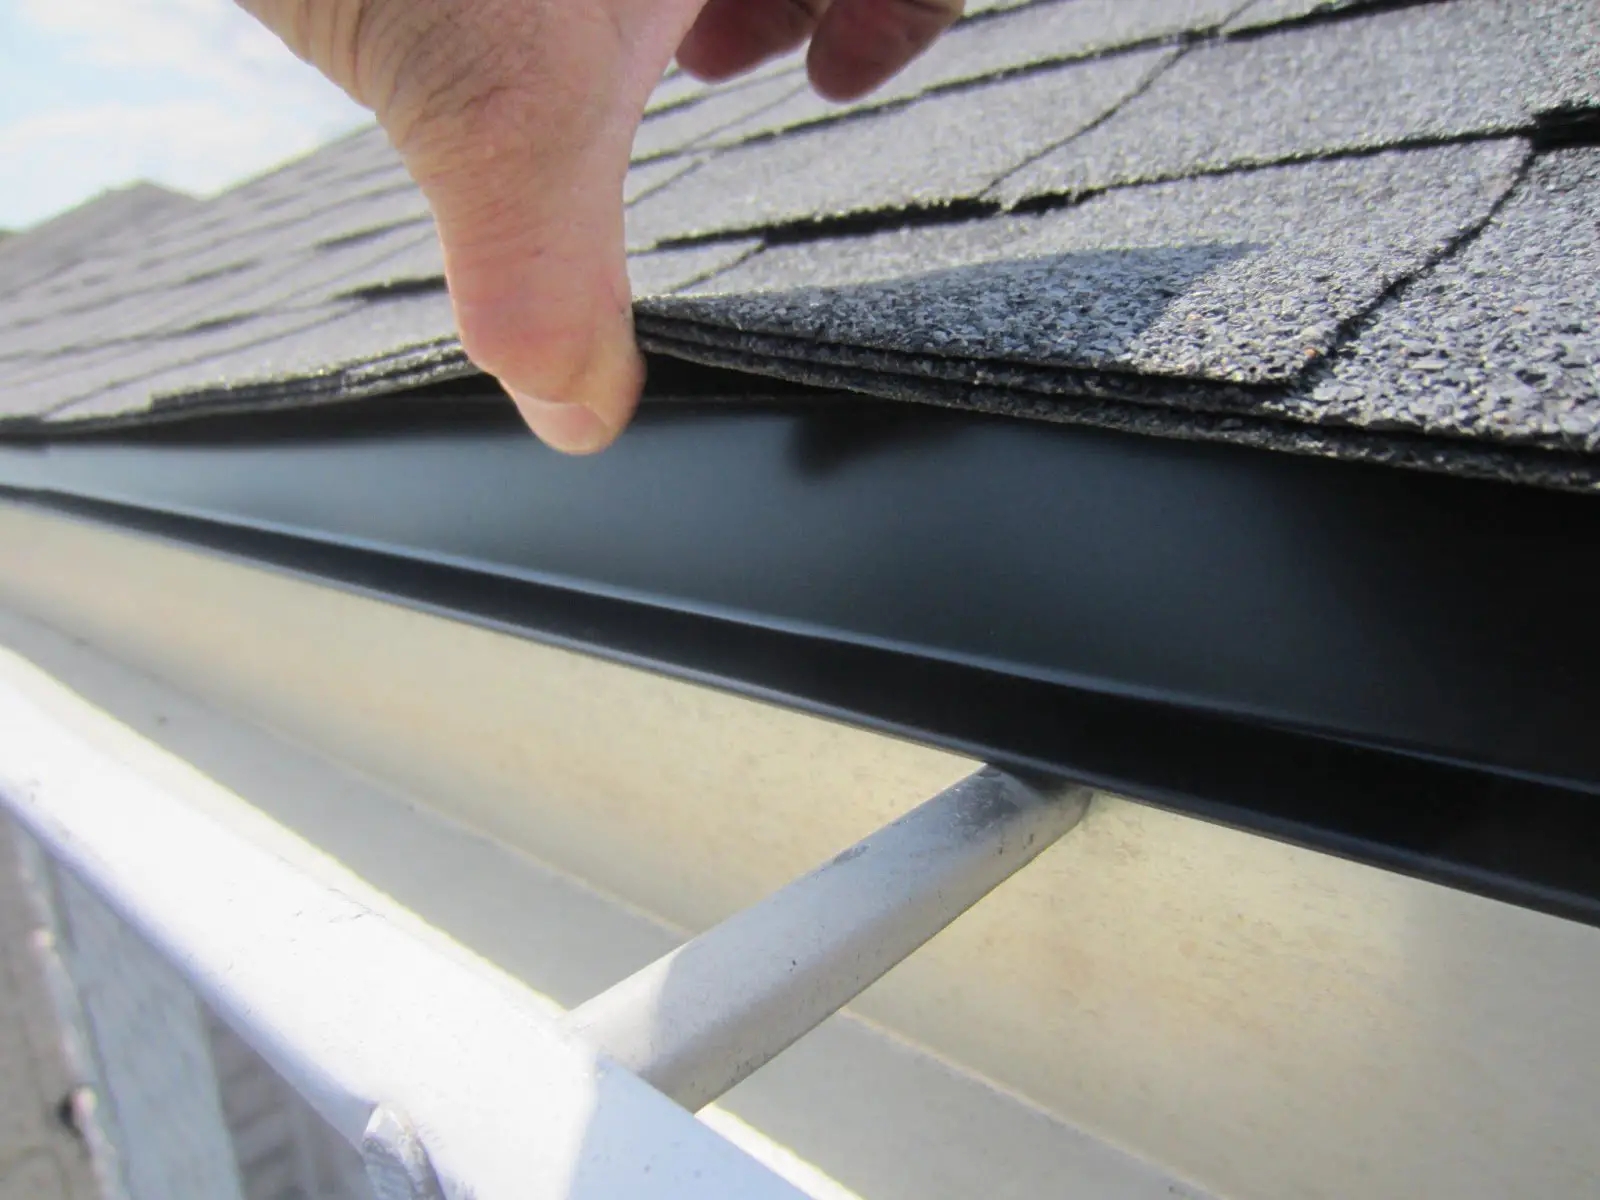
Drip edge directs water away from the fascia and prevents water from rotting the fascia over time. Due to cohesion, surface tension, and other forces, water droplets tend to stick to one another and to the surfaces they are on, albeit slightly.
A drip edge is designed to take advantage of those forces and, along with gravity, direct water into the gutter.
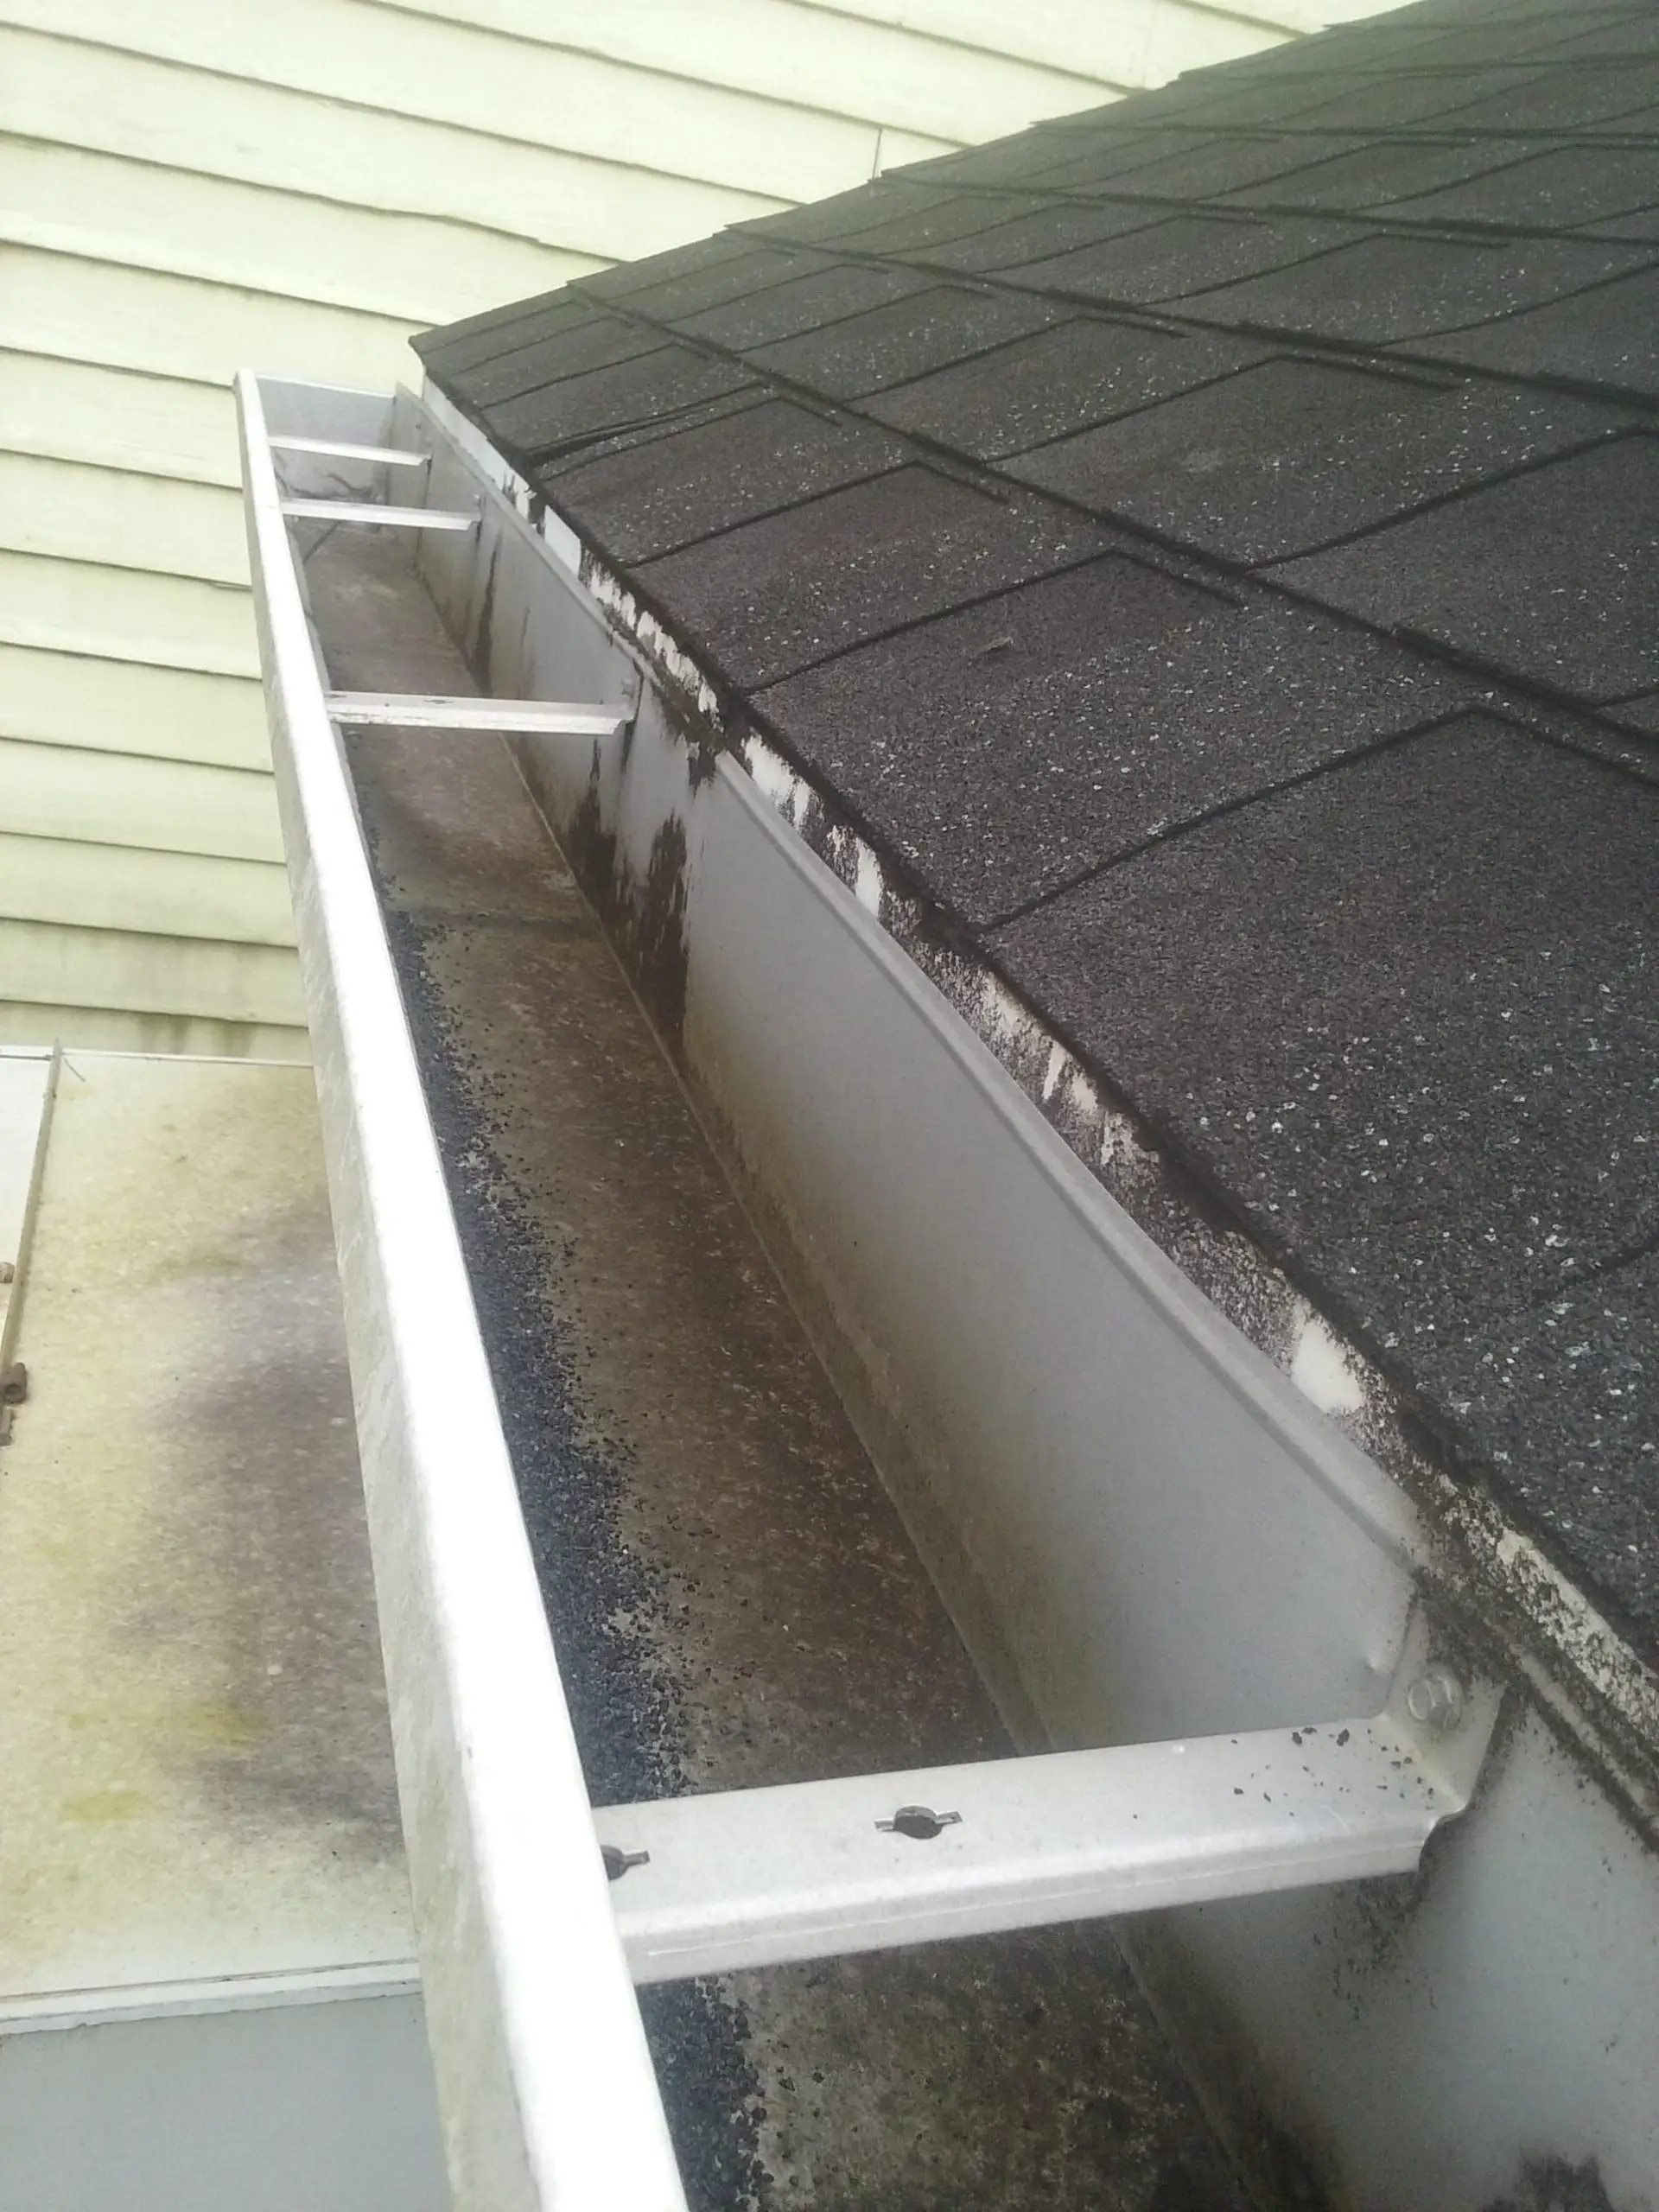
If the home has no gutter, the drip edge will prevent the water from running down the fascia and onto or into the soffit cavity. However, without the drip edge, the water sticks to shingles, potentially working its way under the shingles to cause a leak.
For example, water may cling to the fascia, which may cause rot, or, in severe conditions, a leak into the home.
A drip edge prevents movement between fascia and deck boards, as well as assisting gutters to direct water away from your house and its foundation. Additionally, the drip edge extends the life of your roof and improves its overall effectiveness.
Drip edge protects the edge of the decking due to water penetration during driving rains. When conditions are serious, the wind pushes water around on a roof. Shingles, along with underlayments and ice and water protectors, keep wind-driven rain from harming the roofs deck.
Three Tips For Overlapping Drip Edge Flashing:
To cut the lower rake piece in place, slide the lower piece downhill enough to make room to mark, cut, and bend. Mark the straight cuts with a speed square. Cut the initial square cut across the single-ply piece of the top. Next cut back square across the folded part of the top of the T. Cut the 45 degree bird’s mouth to allow the long end to be folded around the rake to the eave.
TIP: Make sure to support the long end of the cut if you let it fall after cutting, it will bend down and kink the drip edge.
Be sure to tuck the drip edge under the starter strip and felt paper. Slide the corner tight to the fascia. Make sure the corner is tight, and that the bottom edge is tight to the fascia before nailing off the drip edge. Place a nail at one end, then the other.
You may need to nail through the starter strip into the drip edge. If you do, make sure the nails will not align with any shingle seams or cutouts above.
You May Like: Cost To Replace Roof Sheathing
At : 05 Paul Begins Replacing The Drip Edge Roof Flashing
Use a flat pry bar to remove drip edge nails along the eave and rakes. You may need to use a putty knife to break the seam between the first course and the starter strip.
Slide the flat bar under starter course, and pry out the nails.
On some roofs, you may need to remove a couple of shingle nails to make some room to work.
Because Paul is working alone, he sets the drip edge flashing in place on the rake and cuts and bends it in place.
Help Prolong The Roofs Lifespan

Preventing your rooftop and slope from water leaks and degradation will extend its lifespan significantly. Furthermore, continuous water circulation out from the rooftop will aid in the removal of contaminants and fungus, which can trigger deterioration.
Safeguarding your roofing from the weather means it will last longer, save you cash, and retain the worth of your property.
Recommended Reading: Skylights In Metal Roofing
Can Drip Edge Be Installed After Shingles
The most popular time to install a drip edge is when new shingles are installed. However, the drip edge can be installed at any time. The materials involved include: a ladder, a flat pry bar, a hammer, tin snips, eave stripping, and galvanized roofing nails. Something else to consider is the drip edge eave strip, which is often made of galvanized metal. According to many roofers, a better alternative is a vinyl-coated aluminum eave strip. Thats because aluminum wont rust and it doesnt need to be painted.
How To Install A Drip Edge On A Roof
It is better to know before you start:
- If there is a protective layer of film on your drip edge, remove it before you start working.
- Use nails in the following calculation: 1 nail in every 6 inches.
- For better connections you can cut corners stiffeners.
There are two existing approaches to the installation process:
- Approach # 1 is about the installation of the holders to the rafters. The main thing is that fixing is carried out after the installation of lathing and before installing drip. Perhaps, this approach is the most reliable one.
- Approach # 2 is about using holders made of plastic which are mounted on a fascia board such attachment method can not withstand avalanches of snow in the winter time, so it highly recommended to be used on roofs with a minimum angle of inclination only.
You May Like: How Much Does Shingle Roof Cost
How To Install Drip Edge On Shed Roof: A Step By Step Guide
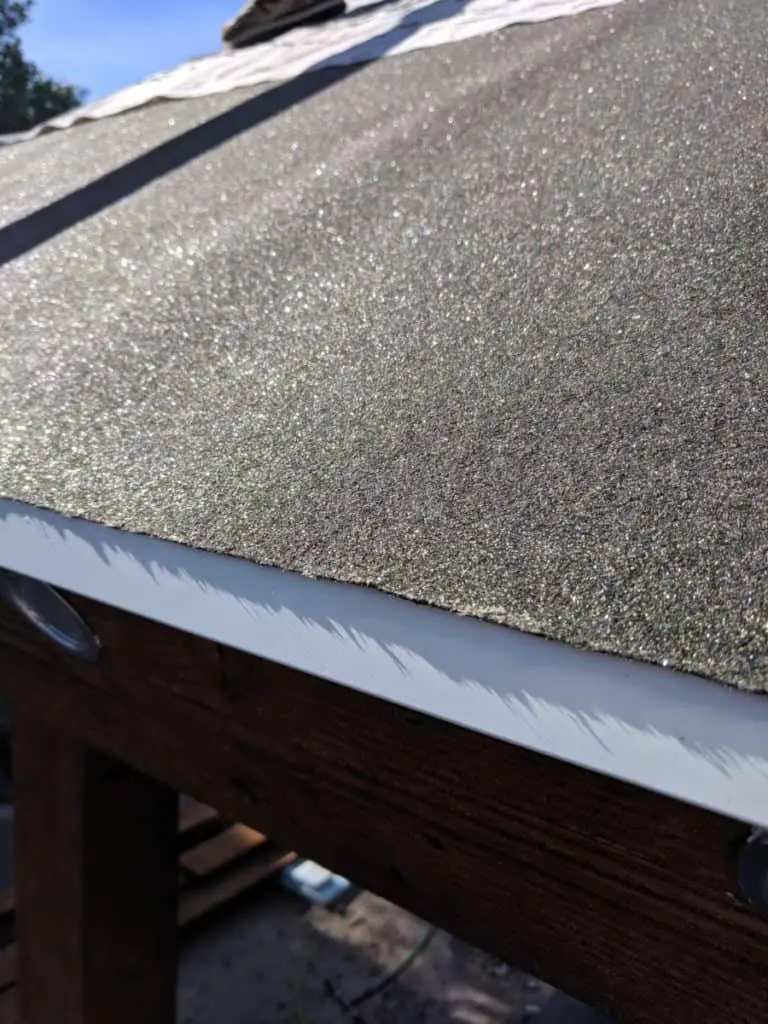
Installing drip edge on a shed, regardless of profile or material, is a task that even a DIY novice can undertake. A drip edge is the first part of finishing your roof before you throw on the roofing felt or shingles. However, the drip edge goes on in stages, so you will not be installing it all at once.
Below is a guide for installing drip edge on a shed with a slant-style roof that will have your shed sheltered in no time.
Why Do We Need A Drip Edge
- When a drip edge is installed, the moisture runs down without staying too long on the elements of wooden or metal structure. So, there is less risk of premature failure of the roofing system.
- Due to the absence of excessive moisture in the roofing system, harmful microorganisms will not develop on your roof the processes of decay will not start too.
- A drip edge protects the roof from a possible destruction by a crosswind.
- When you have a drip edge, the house structure will have a neat look thanks to a pleasant roof contours.
- A drip edge adds the additional strength to your roof.
Also Check: Maximum Metal Roof Overhang Without Support
Is Having A Drip Edge A Code Requirement
Drip edges are required by the International Residential Code and since most U.S. states follow the same precedent set by the IRC, this means that drip edges are required for most types of buildings in the country.
In fact, 49 states have adopted the IRC, so drip edges are generally required. Based on their benefits we touched on earlier, its clear that installing a drip edge is a good move on the part of homeowners.
There are some instances in which a drip edge isnt required, however, such as in the case of historical buildings. If you have a prebent aluminum fascia that is flush with the decking of your roof, this basically serves the same purpose as a drip edge so you wont require one.
However, its important to check with city hall in your area so that you can stay informed on the codes you need to consider for your home. You could also consult with a home inspector for advice.
Roof Edge Flashing Profile Types
Shapes of drip edge vary, and the names can be confusing. As youll see below, some types are the same but go by different letters. Well outline the most common examples and why they might be the right choice for your shed project.
Type C
Also known as type L, this is one of the most common profile types for drip edge. It features an L-shaped profile. The side that sits against the fascia board has a small flange at the end to direct water away from the fascia and into the gutter.
Type D
Widely known as type T, this drip edge is identical to C-type, except that the top of the profile juts out, away from the roof. This allows water to fall further away from the fascia board and into the gutter. Many roofers use this type for eaves and type C for rake edges.
Type F
Type F is also known as gutter apron and is useful when replacing an existing drip edge or adding a drip edge to an existing roof structure. This profile is similar to type C, except that the fascia-facing part angles away from the structure.
The angle provides extra clearance for moisture to reach the gutter. A good alternative when type D drip edge is too long for existing shingles on a shed roof.
Don’t Miss: Rv Rubber Roof Repair Kit
Where Should Drip Edges Be Placed
The correct placement of a roof drip edge is on top of the roofs exterior cover directly between the sheathing and the fascia board, which forms a drainage gap between the drip edge and the fascia board. As a result, the drainage improves water flow and protects the roof from potential water damage.
Drip Edge Profile Type D

Despite it being called type D, this drip edge is in the shape of an uppercase T and has a lower flange that is at the bottom. It is also referred to as T style, drip metal, or D-metal. There is an association for asphalt roofing that prefers this profile because it keeps water even further away from the fascia.
Despite that fact, Type C is still quite common and will be acceptable when it comes to most roofing and building codes and guidelines.
Read Also: Metal Roof Extension
By Step Install Drip Edge On A Metal Roof
You need to prepare several things before executing the method on how to install a drip edge on a metal roof above. First, the homeowner must purchase the drip edge made of metal that does not corrode easily. The size should be at least 36 gauges. All basic materials and tools must be prepared, safety gear included. Before the project starts, the roof must be cleaned from dust and debris first.
In addition to knowing how to install a drip edge on a metal roof, it is important to know some types of drip edge. The first type is L-shaped, which is commonly used in roofs with low inclines. Its installation is on the deck board, over the fascia.
Meanwhile, the hemmed type is perfect for metal roofing. It has an open hem that prevents water from streaming upward due to capillary motion.
Drip Edge Profile Type C
While there are different materials that a drip edge can be made of, there are also different drip edge profiles as well. The type C is your L-shaped type of drip edge. It is also known as L style. This is because this drip edge is usually bent at a 90-degree angle. It also tends to have a lower flange located at the bottom of the drip edge.
Don’t Miss: Extending Roof Overhang Cost
What Materials Are Drip Edges Made Of
Drip edges under the building code are required to be non-porous, resistant to corrosion, or be galvanized.
They are often made of materials consistent with your metal roof.
You can also find some constructed out of durable plastic, vinyl, or fiberglass. The recommended choice would be ones made of either these metals:
Can Cover Gaps On Roofings
Drip edges are designed to entirely hide any existing openings between your fascia and your rooftop. As a result, it prevents rainwater out of your roof base, especially air-made water. It also prevents pests and wild rodents out of your loft, which might cause damage to your deck, rooftop, or chimney.
Nobody likes to discover rodents enter their home because of a roofing hole. Fortunately, you wont have to with a drip edge installed.
You May Like: Cost To Reseal Rv Roof
Everything You Need To Know About Drip Edge
When it comes to roofing, the importance of drip edges is often overlooked by homeowners. Though drip edges are a common feature on homes located in certain areas of the United States, they are not as common in areas that do not experience frequent or severe storms. In addition, drip-edges are sometimes excluded from a project in order to save money. While lacking a drip edge on your roof may save you money in the short-term, it can cause costly damage that will be expensive to fix. As a homeowner, it is important to fully understand how and why a drip edge is used. Here are some of the most common drip edge related questions and answers to be aware of as a homeowner.
Whats The Purpose Of Roof Drip Edges
Drip edges have two key purposes:
Recommended Reading: Trailer Roof Repair Cost
Drip Edge Material Types
Drip edges are made of various plastics and metals, which are both acceptable under most building codes so long as the metals are corrosion-resistant or galvanized.
- Aluminum: A common material for drip edges, aluminum isnt as strong as steel. It doesnt corrode and is often sold in colors that match the rest of the home exactly.
- Galvanized steel: Drip edges are designed to be in contact with water so, if they are made of steel, they need to be galvanized to prevent rust. Minimum 24-gauge steel is preferable so that the drip edge can withstand strong winds.
- Copper: Copper is a sturdy metal that gives a roof a unique look. When used as a drip edge, it should be a minimum of 0.69 mm or 20 ounces.
While plastic, vinyl and fiberglass drip edges may also be available in your area, these materials are best suited for use in nonroofing applications, such as above doors and windows.
How To Install A Roof Drip Edge

Heavy rain happens regularly in the Delaware Valley. To ensure that your roof is shedding water correctly, you need a drip edge. If your drip edge is damaged or missing, then youll want to install a new one. If your old roof drip edge is made of galvanized metal, you may want to replace it with a low-maintenance vinyl drip edge. Make sure that you follow the directions for how to install a roof drip edge closely. Proper installation is essential for preventing water from reaching the roof deck or the fascia boards.
Don’t Miss: Roof Replacement Cost In California
Importance Of A Drip Edge
Drip edges are often removed from roof constructions to win jobs and save a few dollars. However, skipping the drip edge is more harmful to the roofing and the property in the longer term. According to roofing organizations recommendations, this element is officially meant to be a part of any slate roofing companys installation procedure.
Please verify with a reputable, licensed, and experienced roof firm about your present roof and whether it has a drip edge. Then, during summertime, have your contractors add a drip edge to help preserve your roofing expenditure.
